

Production Maintenance Complete for Sunday, June 22, 2025
All enterprise and business applications are in service at this time.
Portal Status: Green


SharePoint is Microsoft’s tool for storing, organizing and sharing documents. You can create a document library for your team or department with access from any device. You can update access for people to collaborate on documents.
1. Go to the SharePoint site where you want to create a new document library.
2. On the menu bar, select New, and then select Document library.
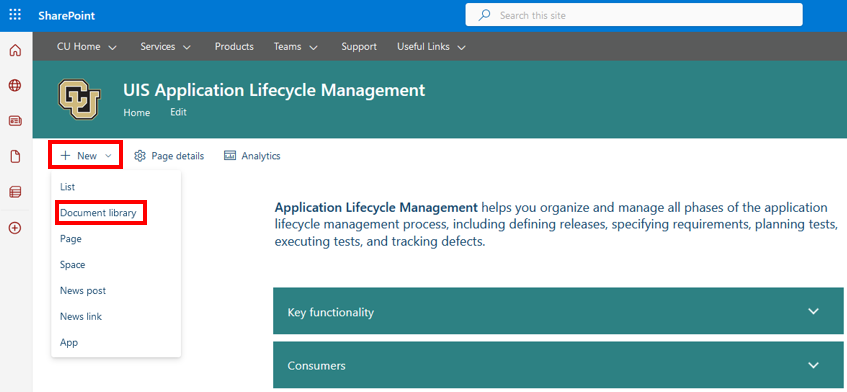
3. Enter a name for the new library.
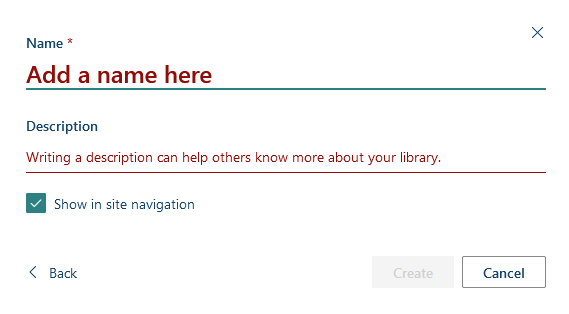
4. Select Create.
1. Open your newly created SharePoint document library.
2. Open File Explorer.
3. Navigate to the folder with the documents that you want to upload.
4. Drag and drop the files to the SharePoint library. The library shoudl display a highlight when you hover the file over it.
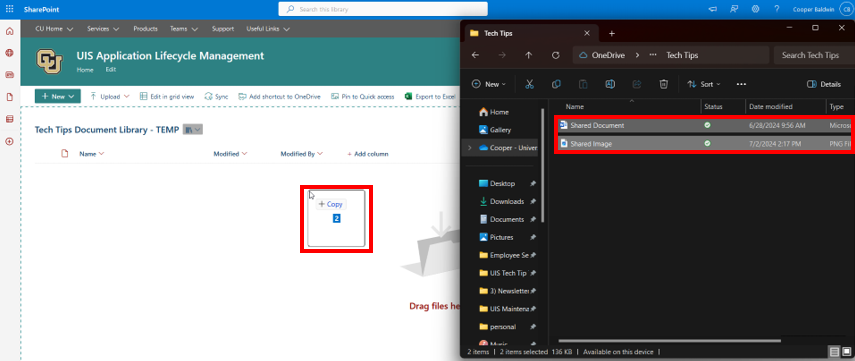
5. You should see your files appear in the document library.
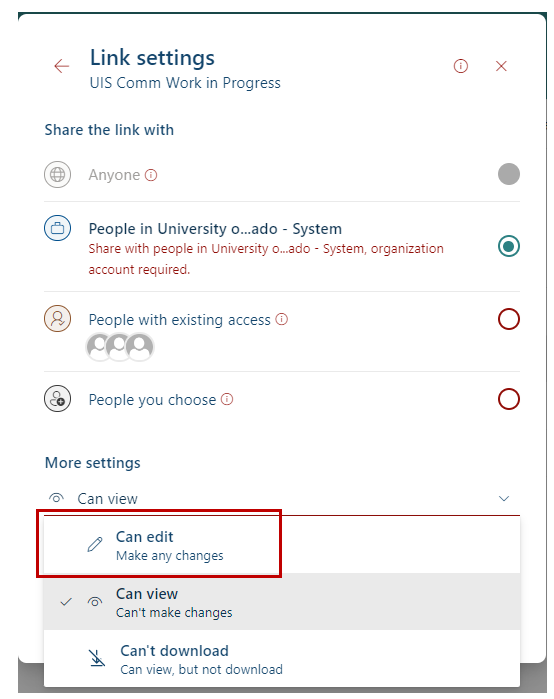
When sharing a document from a SharePoint document library, be sure to check the settings before copying the link. You may want to change it from the default People in the University of Colorado System to People with existing access. Under More settings, you can change Can view to Can edit.
Note: If you share a link to a document before you’ve changed the settings, the link will not reflect any later setting changes. Make changes and then copy the link.

Add new comment