


HTML in Marketing Cloud
While Marketing Cloud provides robust tools for designing emails, some users may choose to leverage HTML for greater customization of the visual and functional experience across devices. This wiki explores best practices for using HTML in Marketing Cloud, how to test your HTML content, and common pitfalls to avoid.
Have an email in full HTML but want to send it from Marketing Cloud? It's doable (not to mention a great approach), but it must be approached a certain way to ensure CAN-SPAM compliance, including a footer for recipients to opt-out. Find details on how to test the recipient's experience, instructions on how to create an HTML email correctly, and the most common misstep we come across.
Create an HTML Email Correctly
If pasting HTML, an Email Message must be based on eComm's HTML Template. By doing so, the opt-out footer will be included at the bottom of the email and be in CAN-SPAM compliance.
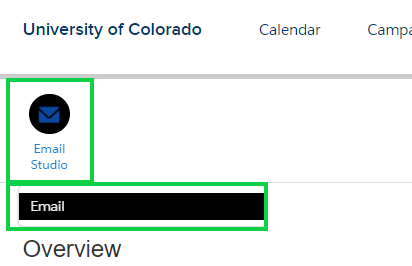
- In Marketing Cloud, navigate to Email Studio (hover over Email Studio and select Email in the dropdown)
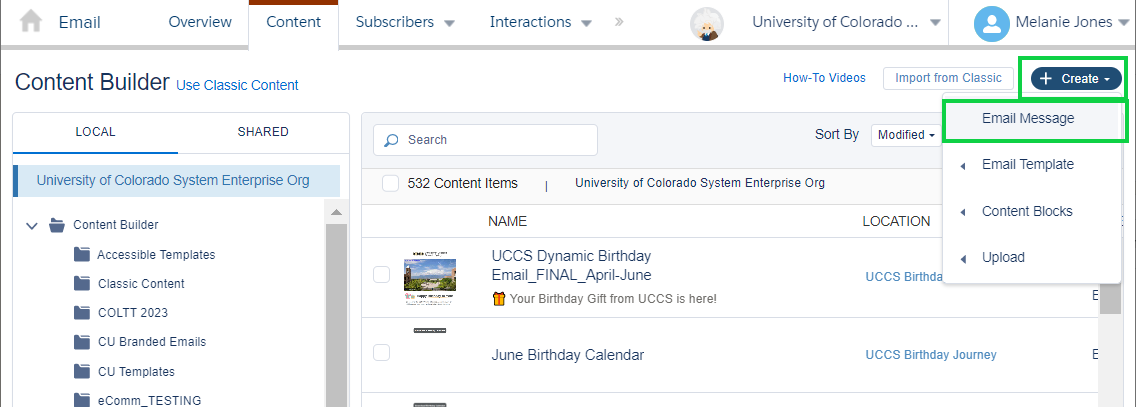
- In the top right corner, select the blue Create button
- Click Email Message
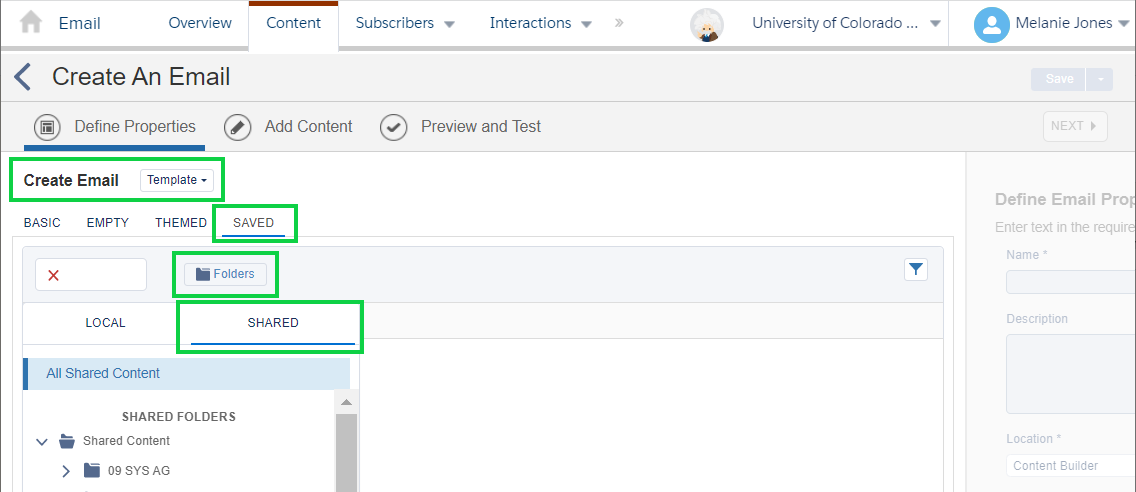
- Select Template from the Create Email drop-down menu
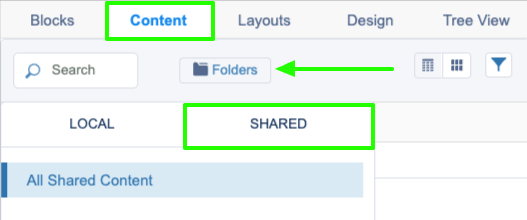
- Click the Saved tab, then Folders
- Select the Shared option on the right (it will default to Local)
- All shared templates should be displayed. Search for 'HTML' if needed
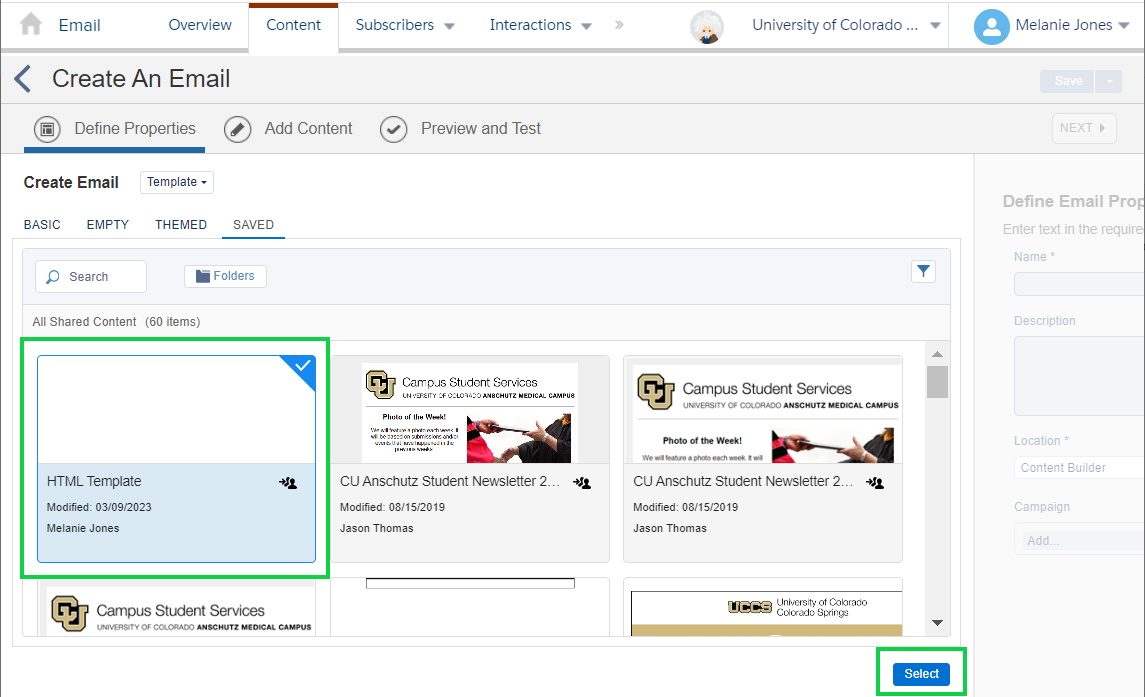
- Click the one named HTML Template; a blue box will highlight the template
- Select the blue button in the bottom right
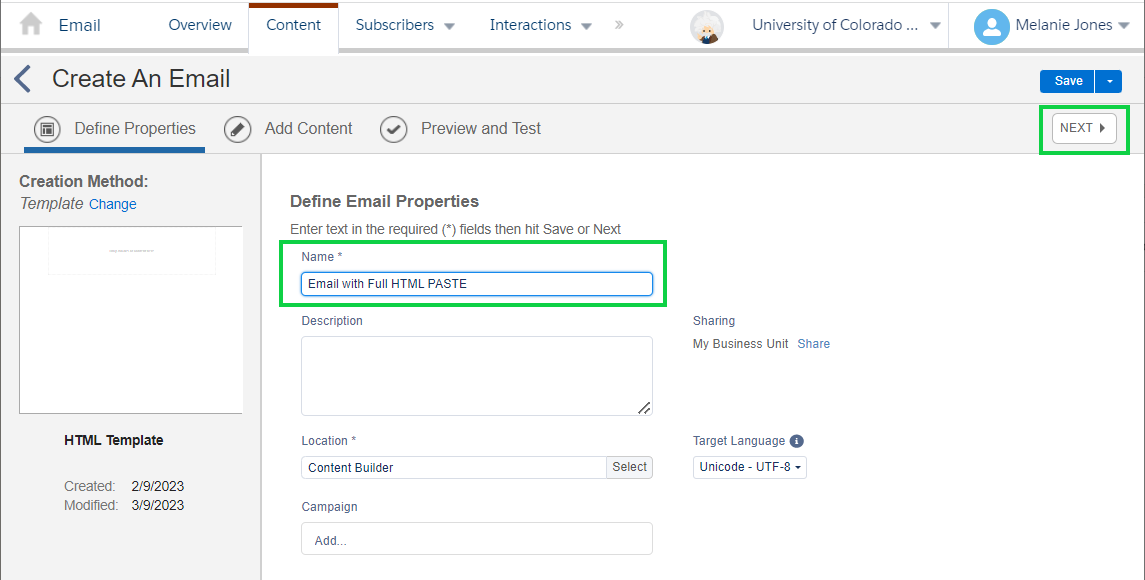
- Name your email and click Next
- It's optional to add a Description, select a Location, or add Campaign.
- Drag the HTML block from the left into the email on the right
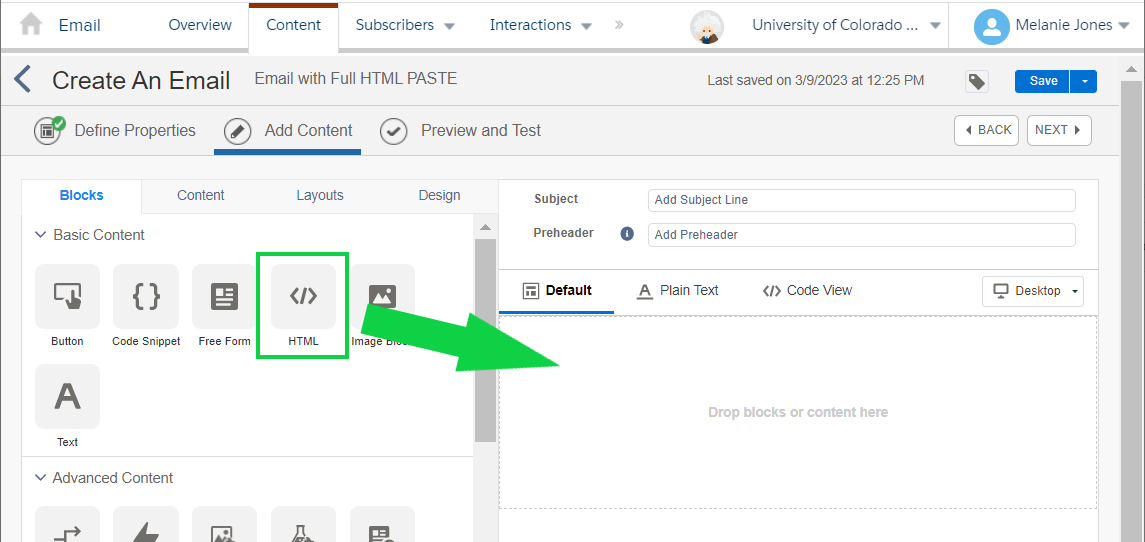
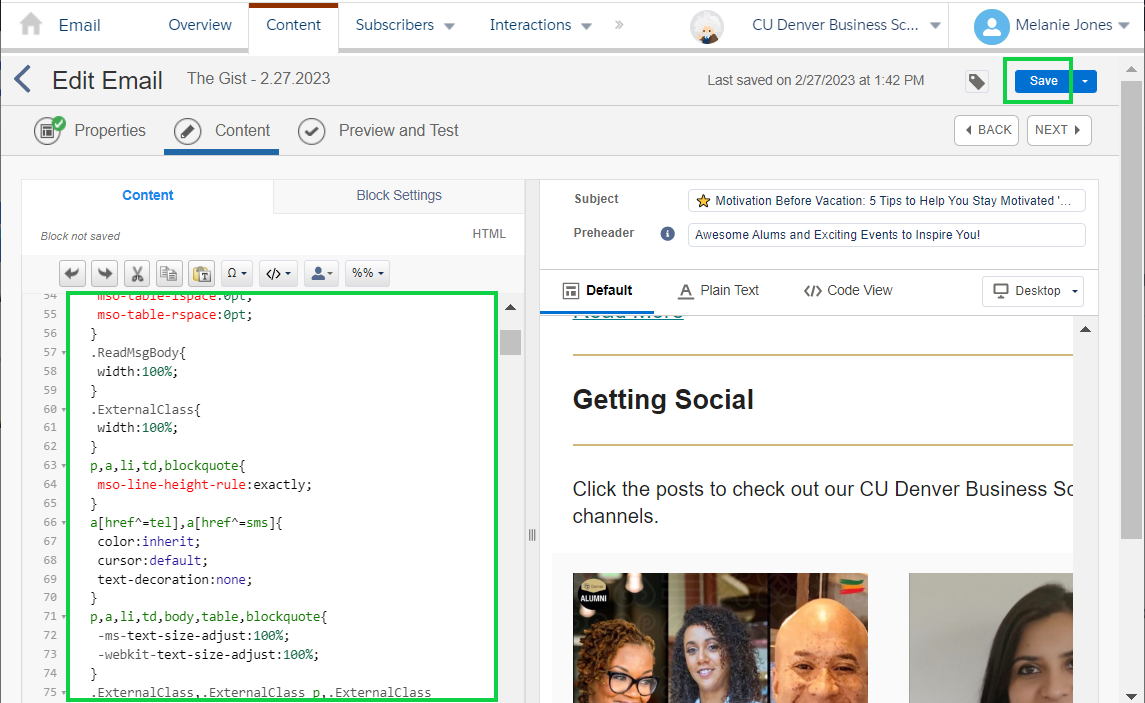
- Paste the HTML code in the panel on the left
- In Preview and Test, you’ll now see the appropriate footer at the bottom of the email.
How to Test
Users can determine if their HTML pasted email was set up correctly based on the Preview and Test in Marketing Cloud, by sending a test, or by sending a real email to themselves.
Preview and Test in Marketing Cloud
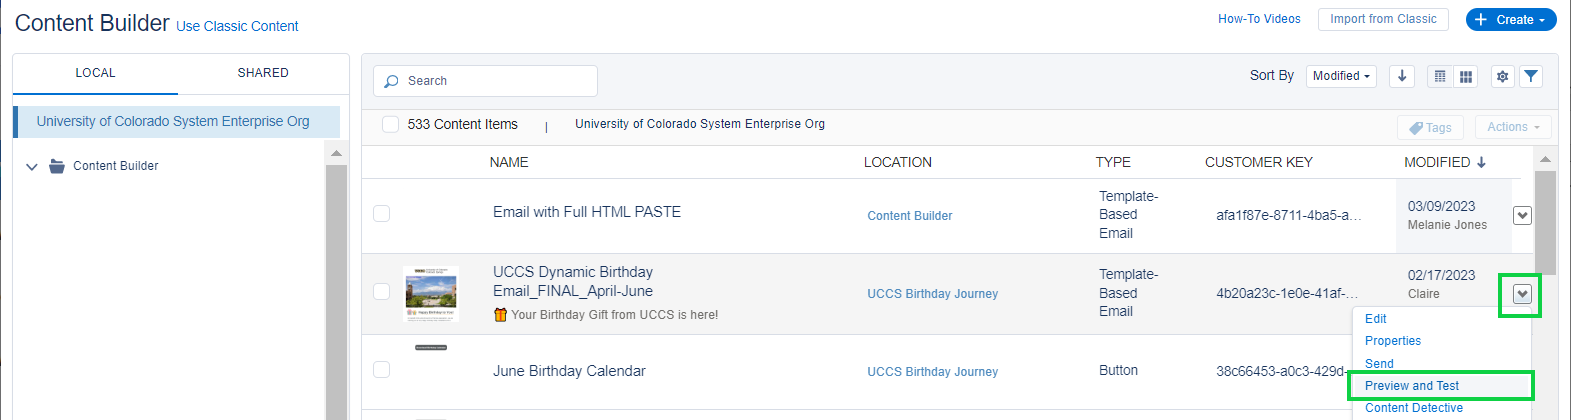
- From Content Builder, find your email and click the down arrow for quick actions on the far right of the row.
- Select Preview & Test in the dropdown.
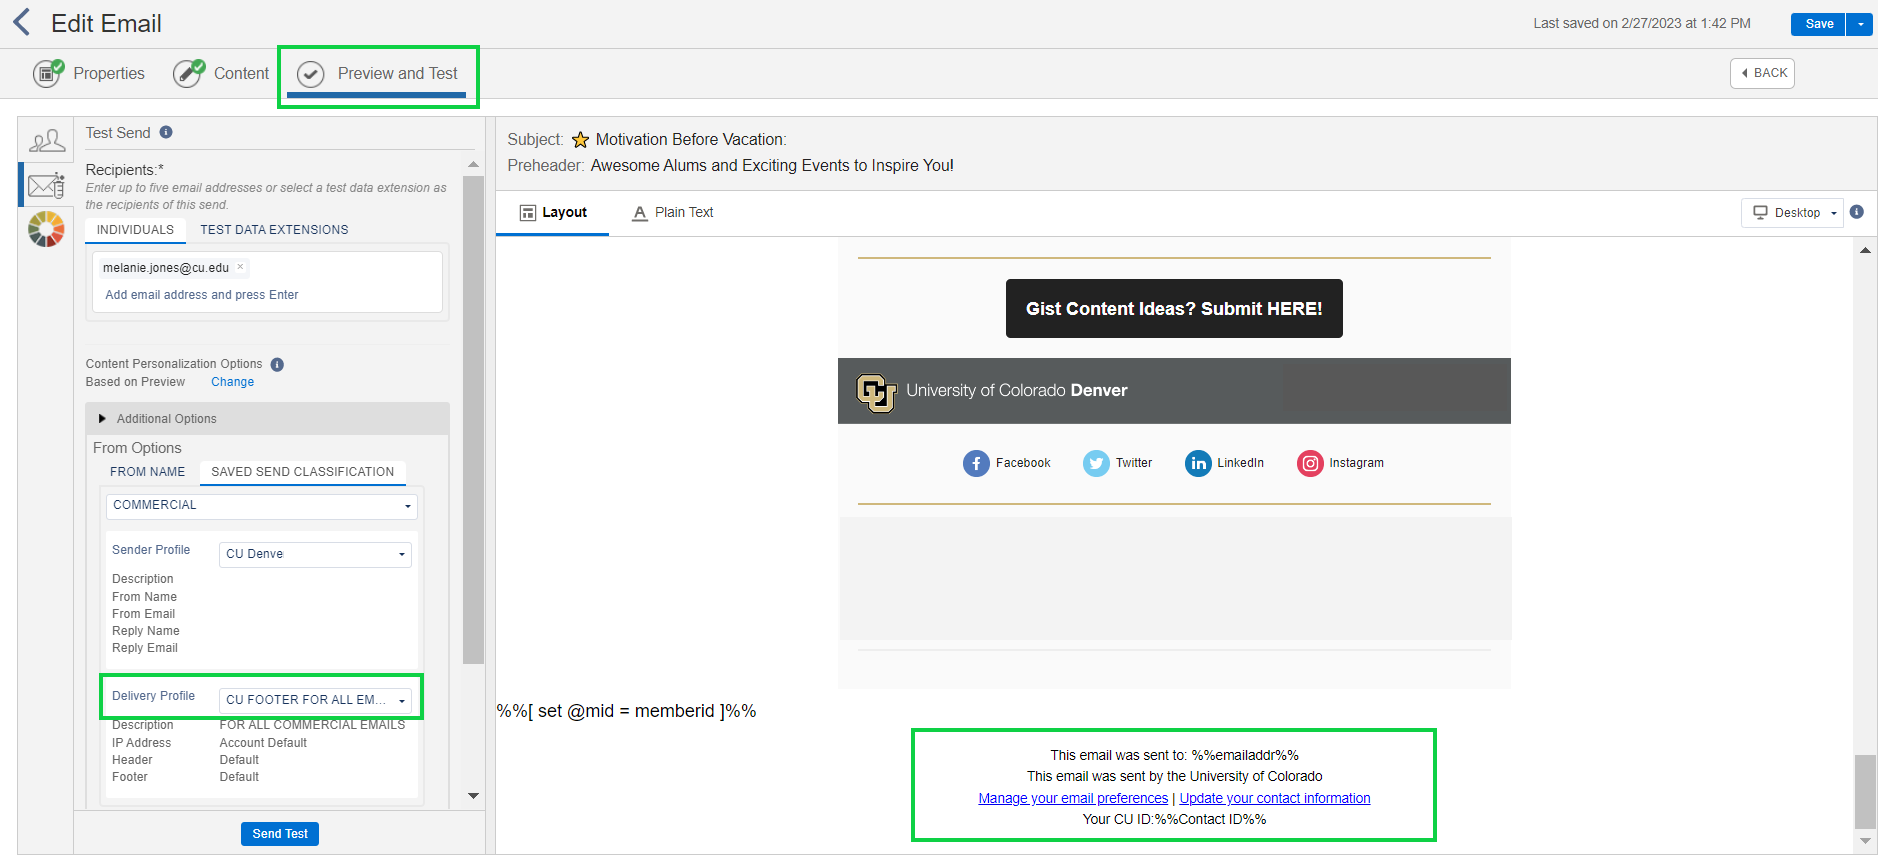
Correctly Configured HTML Pasted Email
- In Preview and Test, set the Delivery Profile to CU FOOTER FOR ALL EMAILS to see the appropriate footer at the bottom of the email.
What to Avoid (CAN-SPAM Violation)
If your email looks like the following, it needs to be fixed immediately. Note the standard eComm footer, including an option to Manage your email preferences, is not visible, resulting in a CAN-SPAM violation.
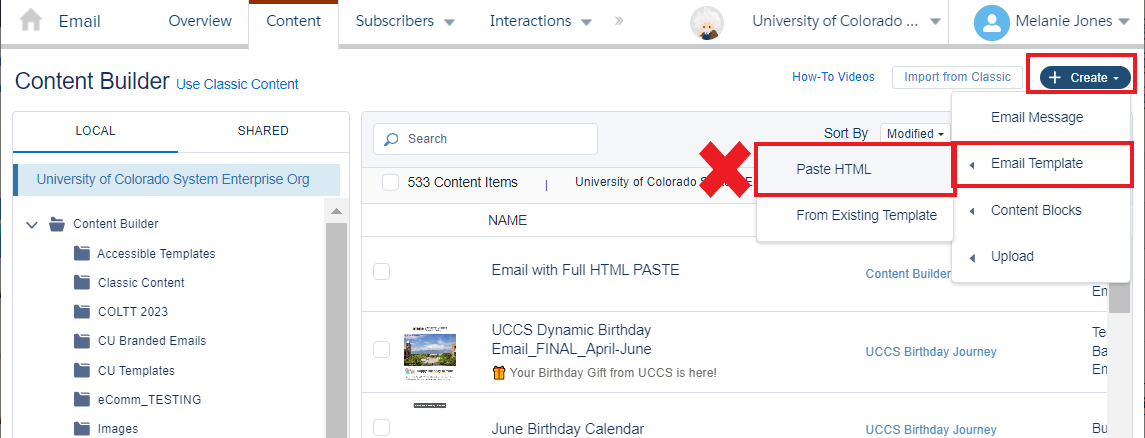
Users should not create Email Templates by pasting HTML. Most are not familiar with the custom coding that Marketing Cloud requires for the correct footer to display (among other things). This often results in sending HTML emails that violate CAN-SPAM.

- DO NOT select the blue Create button > Email Template > Paste HTML
Below, you'll find guidance on using the HTML Button block correctly, instructions on how to test the recipient's experience, and the most common mistake we encounter.
Why Use an HTML Button
If you're using the Marketing Cloud Basic Content button block and notice unusual formatting in the Outlook app on a PC, this is a known issue with Marketing Cloud.
To fix this, you can:
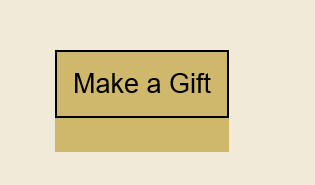
- Change the color of your border to match the background color of your email. We've noticed that using a 3px border width around the button (matching the background color of the email) with 10px padding around the button will typically make the button look better in the Outlook app on a PC.
Or, you can switch to using the HTML Button shared content block. Below, you'll find instructions on how to test the recipient's experience, guidance on using the HTML Button block correctly, and the most common mistake we encounter.
Create an HTML Button Correctly
Adding an HTML Button to an Email
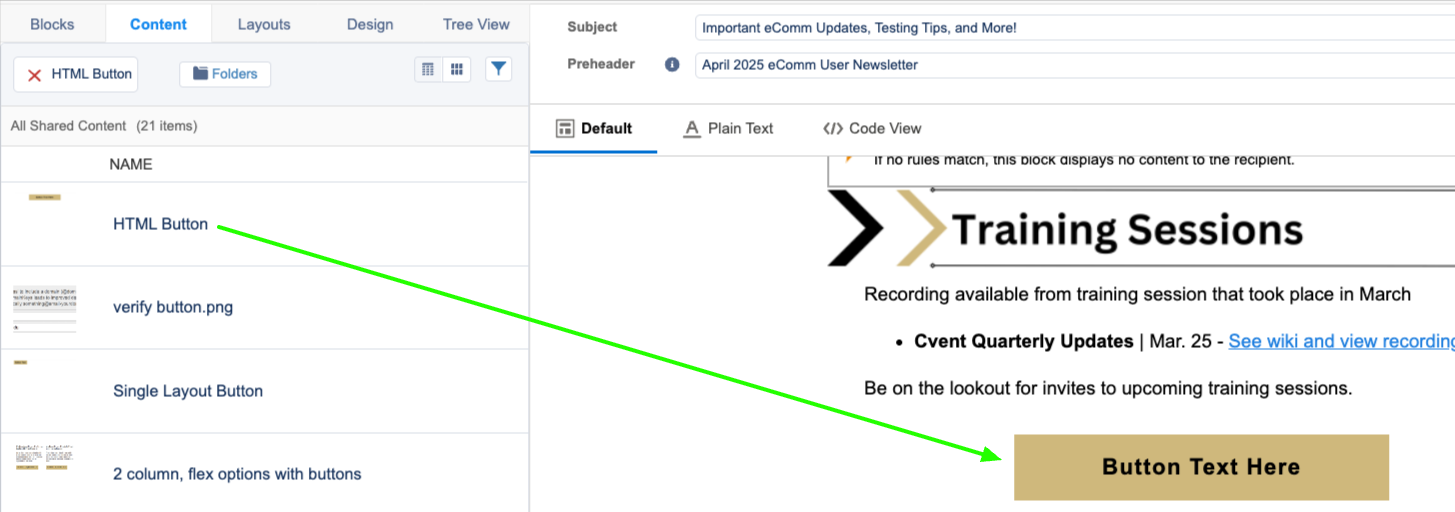
- In your email in Marketing Cloud, navigate to Content > Folders > Shared > All Shared Content and search for HTML Button.
- Drag and drop the HTML Button content block into your email.
- Configure the settings of your button and/or block as needed.
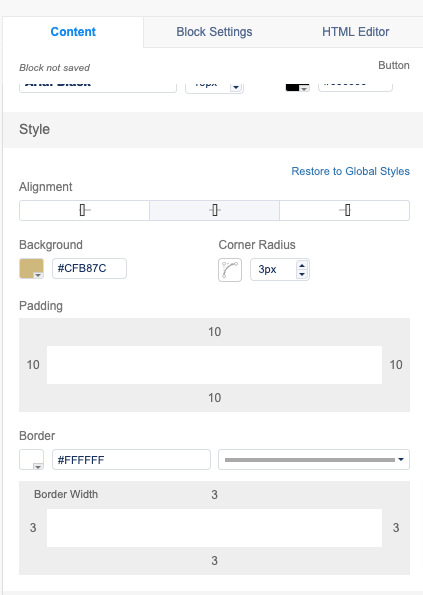
- Navigate to Block Settings to adjust the block styling (ex. block background color, block border, block margins, block padding).
- Navigate to HTML Editor to adjust the button styling (ex. button color, button font style, button font size, button text, button link).
Adding Button Link
It is essential that your button link has http:// or https:// to avoid a broken link error in the actual email send. There are two methods for adding a link to your button: updating the link via the Content tab or updating the link via the HTML Editor Tab.
Updating Link via Content Tab
This is the preferred method to avoid HTML errors and because the https:// will automatically be added to the link.
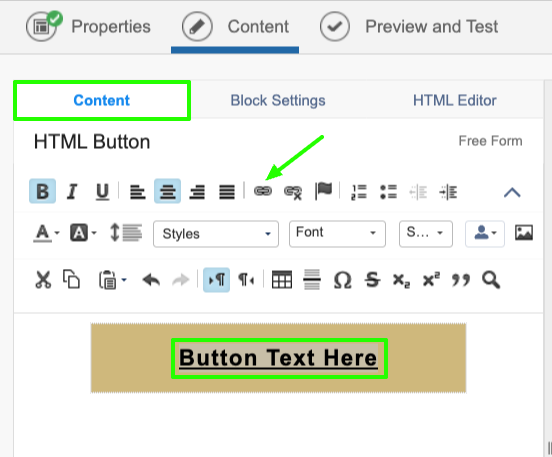
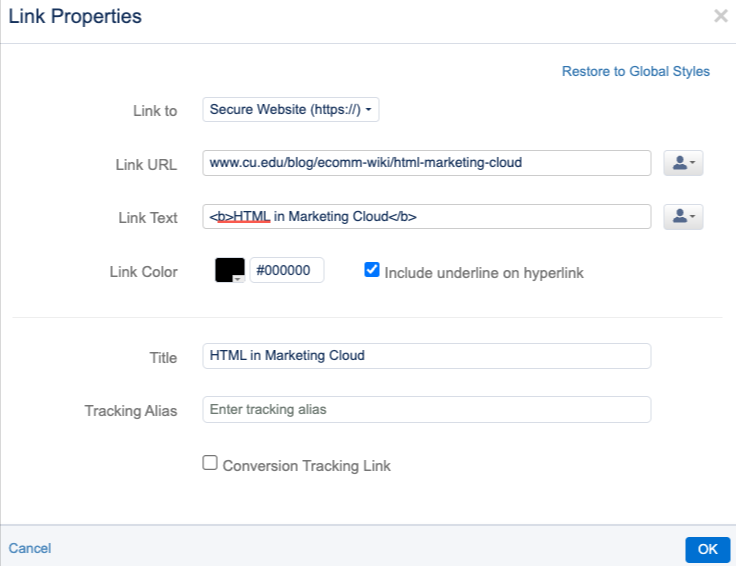
In the HTML Button block in your email, navigate to Content > Highlight the button text > Click on the link icon.
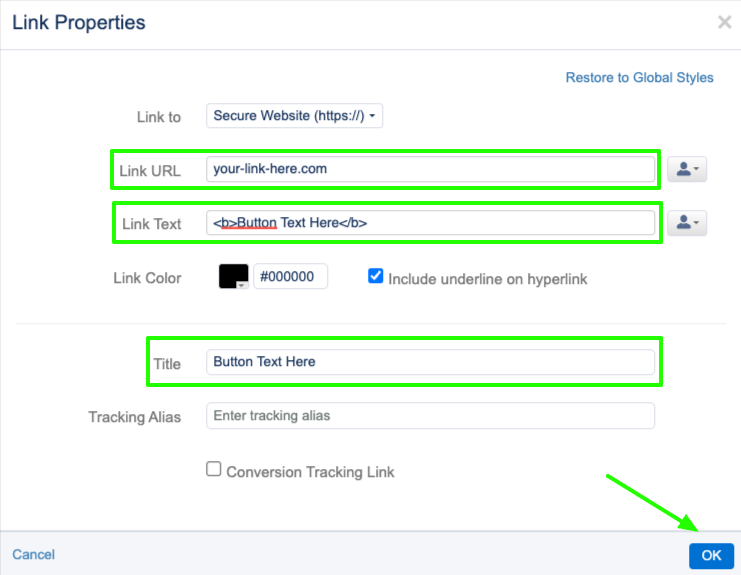
In the Link Properties pop-up, update the Link URL, Link Text, and Title. Click OK.
Example:
Updating Link via HTML Editor Tab
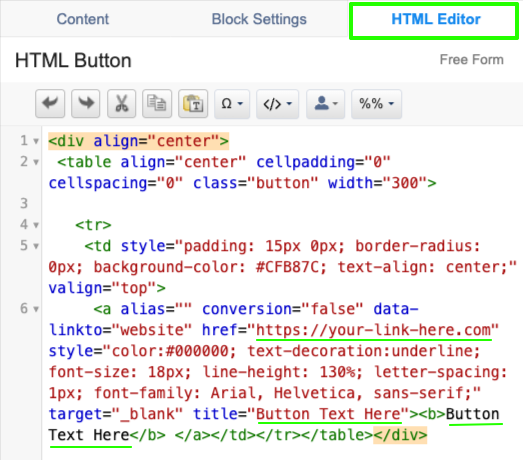
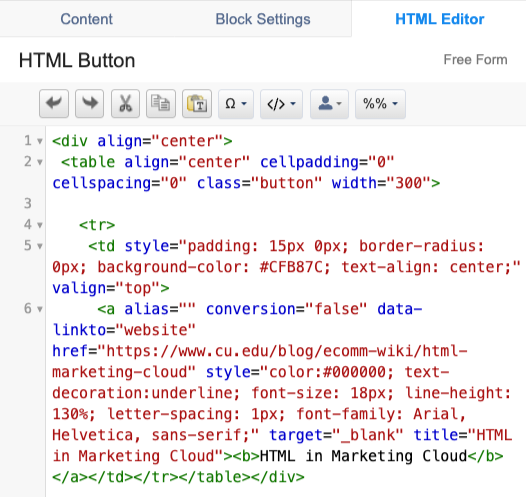
In the HTML Button block in your email, navigate to HTML Editor.
Update the link inside the quotation marks (your link MUST CONTAIN http:// or https://), the title, and the button text. Click Done Editing.
Example:
How to Test
To test that the HTML button is displaying correctly and linking to the correct website, test by sending yourself a test email. Be sure to click on the button to make sure it's going to the intended link.
If you want to take an extra precautionary testing step, you can also send yourself a real email and click on the button to make sure it's going to the intended link.
What to Avoid
Never use a link that does not contain http:// or https://. However, in the event that you do send an email and the button link doesn't have http:// or https://, you can update the link post-send to avoid having to resend your email.