Creating an "Add to Calendar" Link in a Marketing Cloud Email
Many are familiar with seeing "add to calendar" links in emails. To add an "add to calendar" link to a Marketing Cloud email, follow the steps below.
Multiple 'Add to Calendar' Links Load multiple .ics files into Marketing Cloud and give them unique names (i.e 5.24 meeting 3-4 pm, 5.24 meeting 4-5 pm)
1. From your Outlook calendar, create the event you want to share with your audience. Be sure to add all of the relevant details, like the event title, location, and any special instructions.
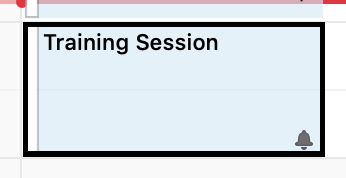
2. Once you've created your event, drag the event from your Outlook calendar and drop it on your desktop. This will create a file called an .ics file. You may want to rename the .ics file once it's on your desktop so that it will be easy to identify. One possible naming convention is MMDDYY Event Name (for example 072020 Training Session).

*Calendar Invite Details When a recipient clicks 'Add to Calendar' the invitation will appear to originate from whoever created it. For this reason, the event planner should create the .ics file.
3. Log in to Marketing Cloud and access the email to which you want to add the calendar link. Navigate to the folder (if applicable) associated with that email content, and drag and drop the .ics file from your desktop into Content Builder. Click Upload and Publish to upload the file.
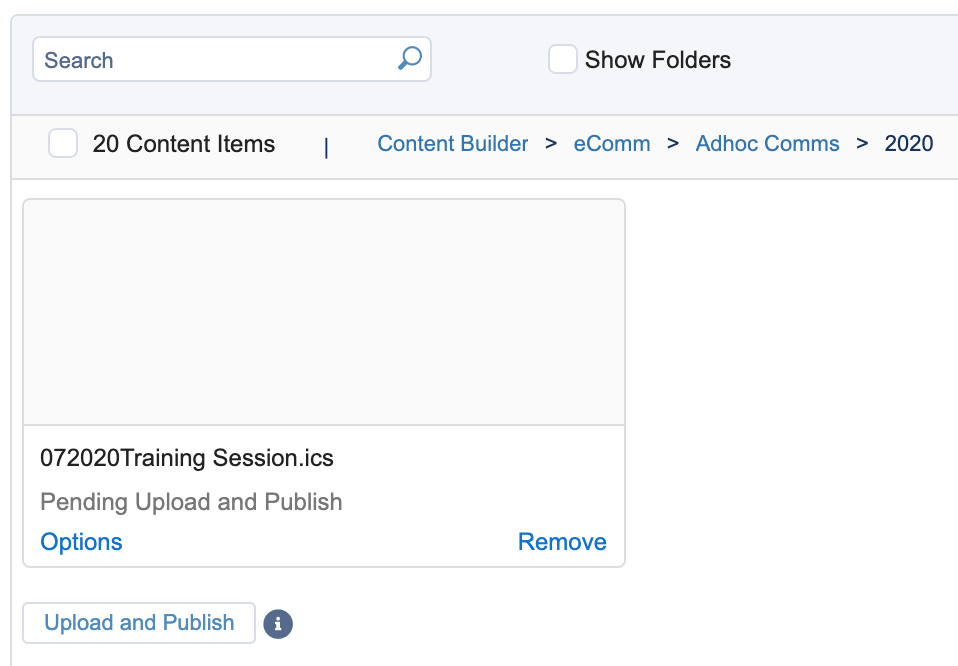
4. The .ics file will be uploaded as a Marketing Cloud document.

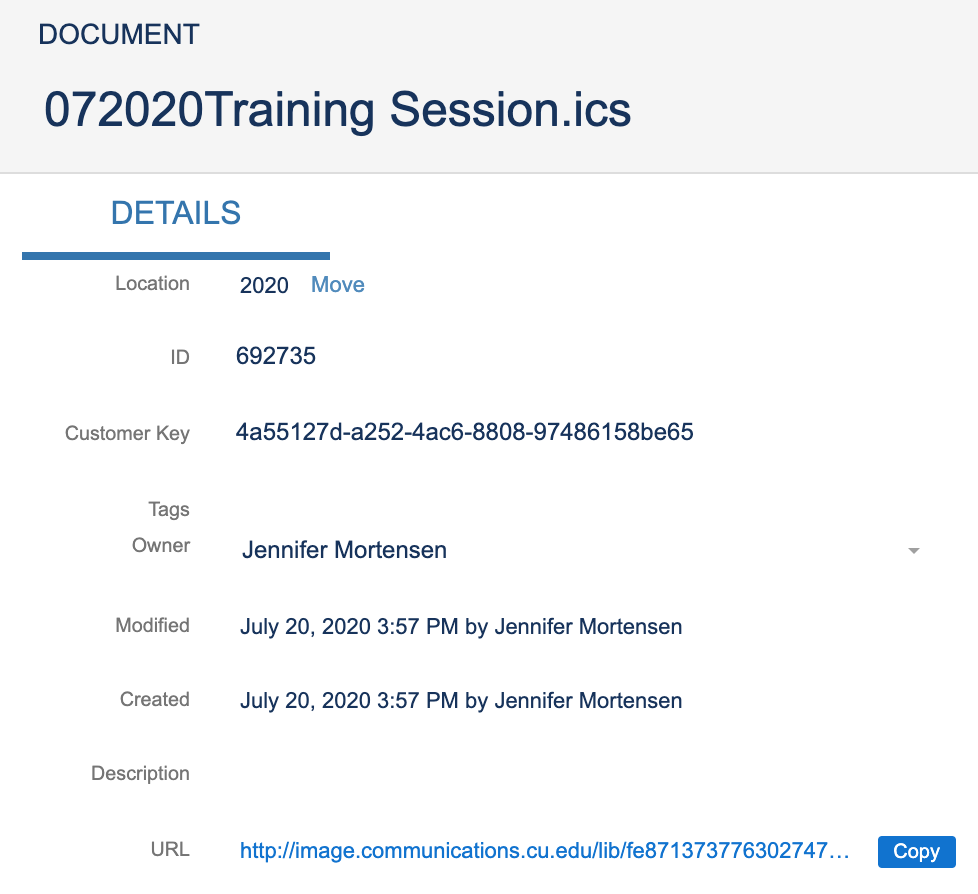
5. Click the name of the document file to open it. A window will appear that contains a URL for the document. Click "Copy" to copy the link.
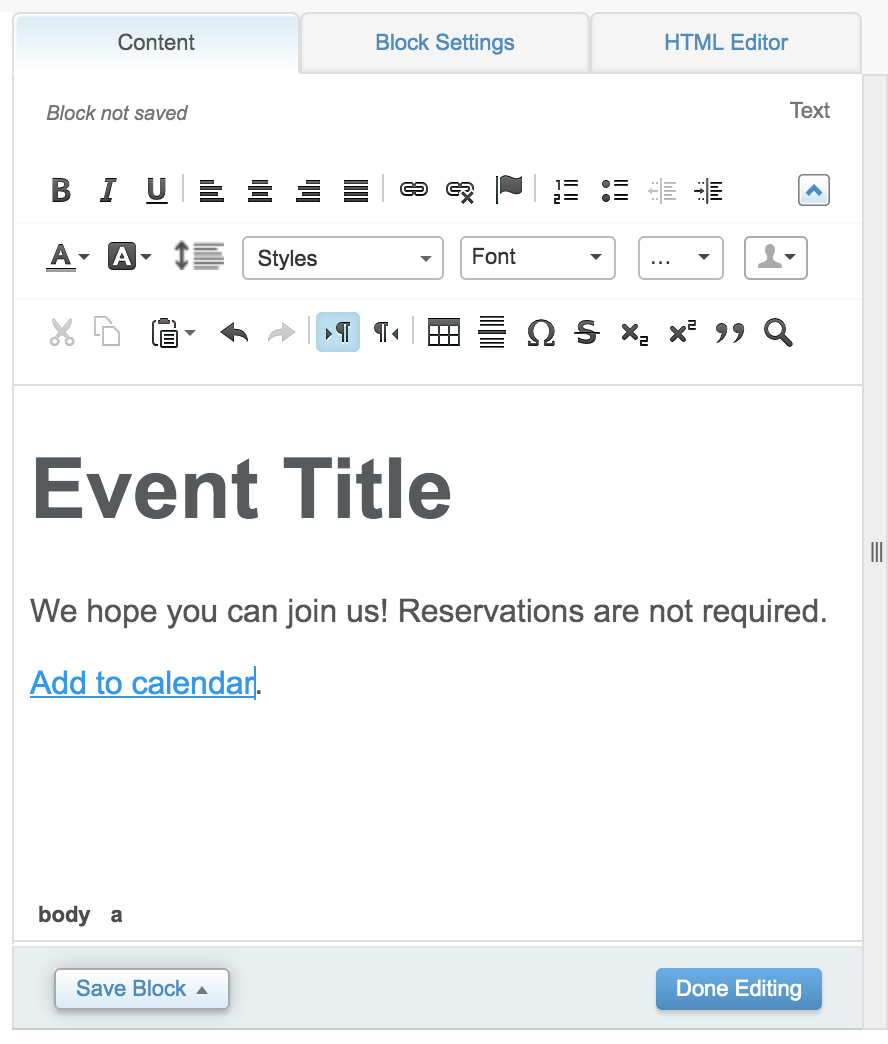
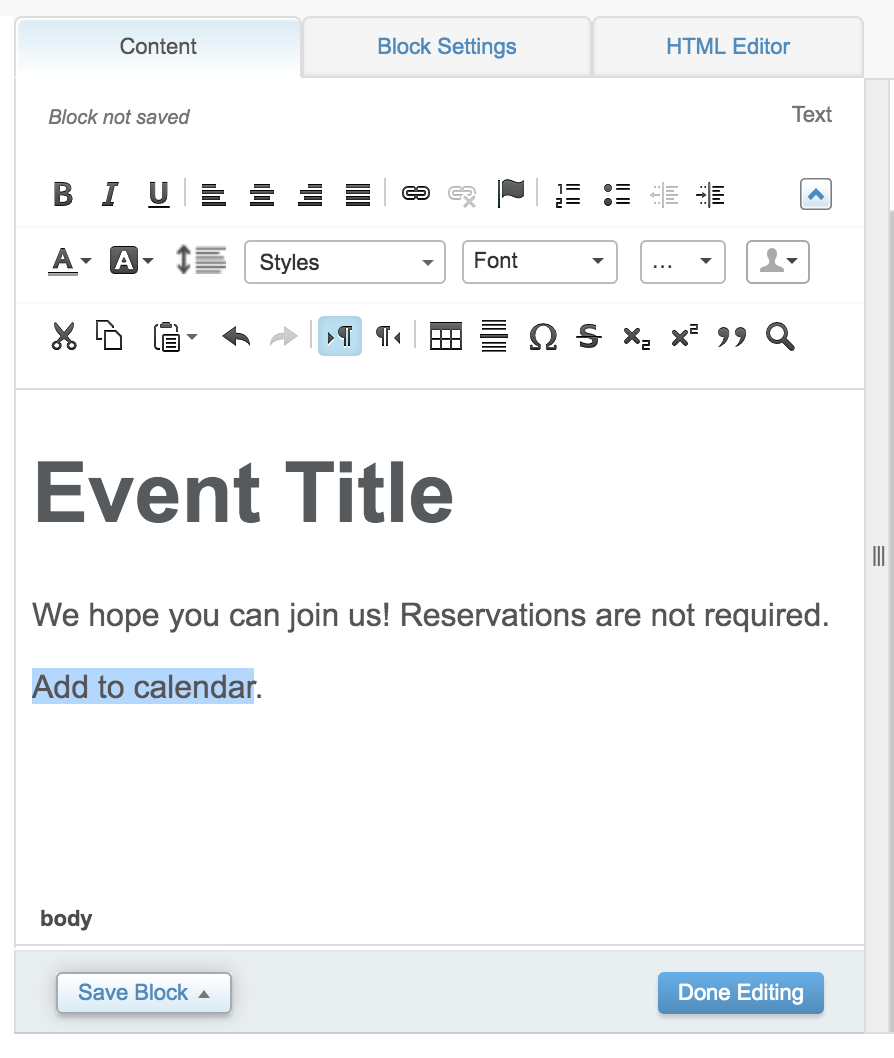
6. Access your email and the content block that contains the "Add to Calendar" link. Highlight the text you want to link and click the hyperlink button.
7. Paste the URL from step four above and click OK.
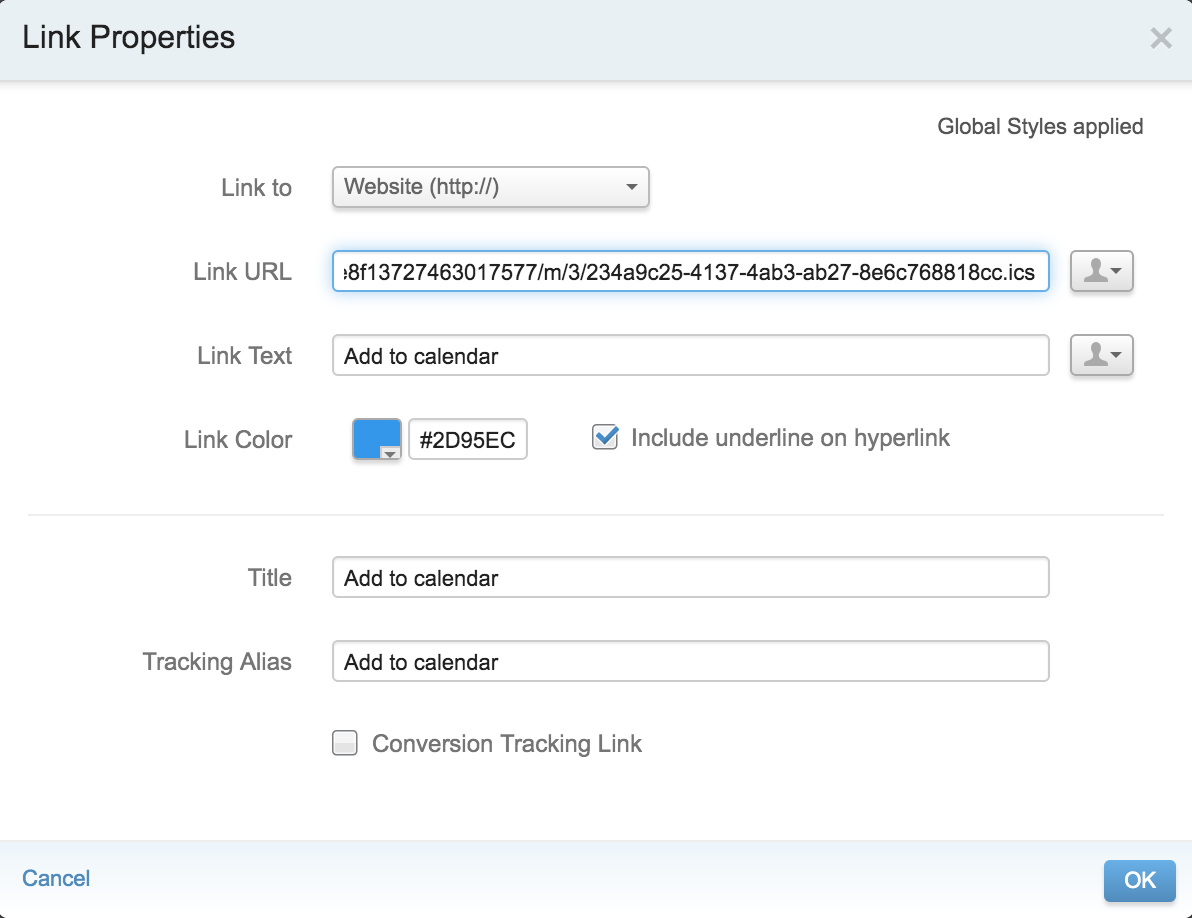
8. Your "Add to Calendar" link is now active.
